As Julia Child said, “a party without cake is just a meeting” and this is just the cake to take a tea party from dull to delightful. It’s not fancy, but it is damply delicious and beloved by everyone who tastes it.
Approx 375 g satsumas (4 or so fruit)
6 eggs
220 g caster sugar
250 g ground almonds
1 tsp baking powder
Pinch of salt
Pre-heat the oven to 170C fan (190C). Grease and line a 20 cm springform tin
Put the satsumas in a covered microwave-safe dish (open a crack for ventilation) with a couple of tbsp of water. Cook on high for 9 mins, turning over gently halfway through the cooking time
Drain, discarding the cooking water and leave to one side for 5 mins to cool slightly. If the satsumas have pips, dig in and remove them with a spoon
Put the satsumas into a bowl — skins, pith, fruit and all — and use a hand blender to blitz into a paste and put on one side to cool
In another bowl, whisk together the eggs until frothy and thick, then add the sugar, almonds and baking powder and whisk again
Add the pulped satsumas and whisk together
Pour the cake mixture into the prepared tin and bake for an hour – cover with foil after about 40 mins to stop the top burning.
Remove from the oven and leave to cool on a rack in the tin. Serve at room temperature.
My granddad used to call these hash because he was an innocent and that was the most addictive thing he could think of. I wouldn’t go as far as to say addictive, but I would place a substantial bet against anyone being able to eat just one of them. This is another family Christmas tradition, combining chewy, deeply orange flavoured, crystallised peel with deep, dark chocolate. They are genuinely sublime and much greater than the sum of their parts. AND they use a bit of the fruit which normally gets thrown away, so it’s a double-win.
I’m not going to lie, this is a slightly more complicated process than most of my recipes. It’s a labour of love. Not difficult at all, but there are quite a few steps (all though 3 of them are just ‘change the water’) and it takes at least a week. Also, one of your saucepans will be occupied for 4 days.
You need to spend a couple of weeks (depending on how many oranges you eat) beforehand peeling oranges carefully with a knife and collecting the peel in a box. You need at least 4-6 oranges-worth to make it worthwhile. You can also use grapefruit or lemons. Not satsumas or limes though, because the skin is too thin.
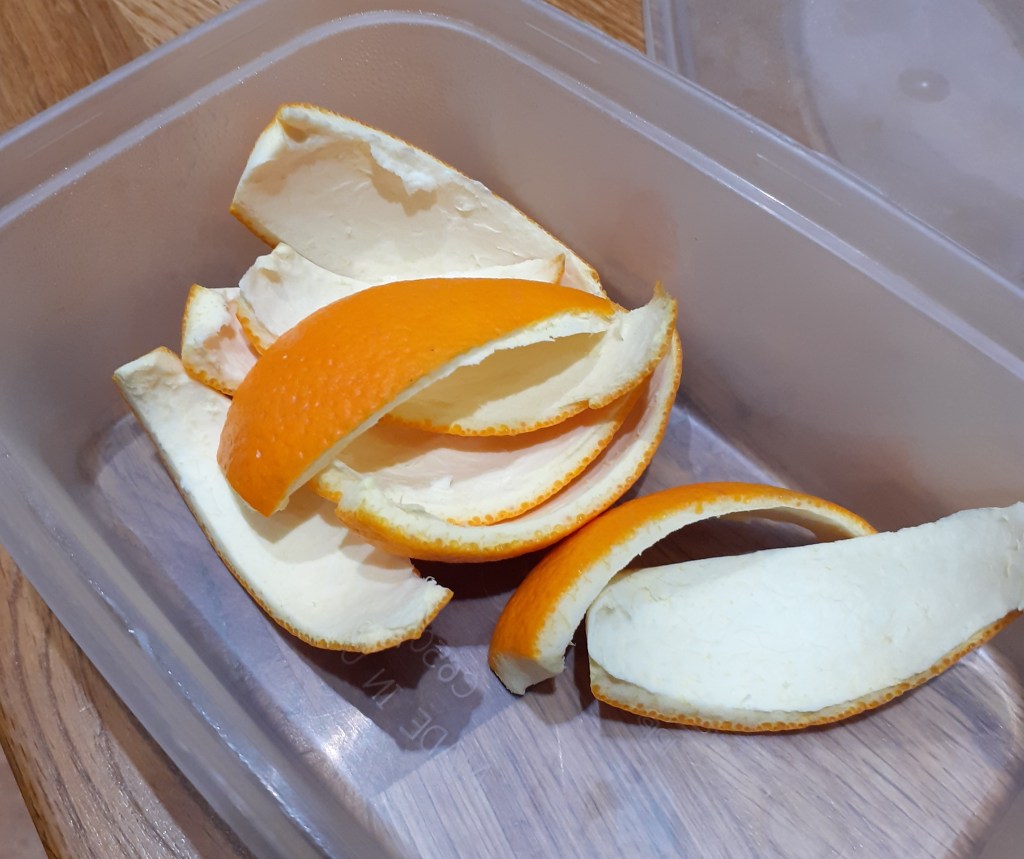
Before you start, the peel should be in pieces like the pic below. (I know, a picture, what a treat!)
Day 1: Cut the peel into long strips 1-2 cm at their widest point. Then slice off half the pith from each strip (so you’re cutting the top layer of the white bit off each piece). This is easiest if you hold the peel down flat on a chopping board with one hand, orange side down, and use a very sharp knife in the other hand to slice a thin strip of the pith off the top. (It’s ok if you go deeper by accident.) Then put the strips into a big bowl, cover generously with cold water, stick a plate or something on top so nothing falls in it and leave to soak for 24 hours
Day 2: Drain and change the water
Day 3: Drain and change the water
Day 4: Drain and put the wet peel into a saucepan. Cover with new cold water and bring to the boil. Drain and then weigh the peel. In a separate bowl, measure out the same weight of sugar as peel. Then, in a jug, measure out the same ml of water as grams of sugar. Put the sugar and water into the empty pan and heat until sugar is dissolved. Add the peel, stir in and leave to cool in the pan
Day 5: Bring to the boil, stirring gently, then leave to cool
Day 6: Bring to the boil, stirring gently, then leave to cool
Day 7: Bring to the boil very slowly, stirring occasionally, until the syrup begins to crystallise. Turn the heat down very low and stir gently and continuously until there’s no liquid left. Remove the crystallised peel (not using your fingers) to cool onto a lined baking sheet. Make sure they’re not touching or they’ll stick together
Day 8: Melt dark chocolate in a bowl. The chocolate can be as dark and as fancy as you like. Although I’m a big fan of a Dairy Milk button or two, you should not use milk chocolate here. Dip each piece of peel into the chocolate to cover the whole thing except for the tinest finger-hold at one end. Place, not touching, on a lined tray and leave to harden in the fridge
They will keep well in a tin or airtight container in a cool place for weeks if you can stop everyone in your life from hoovering them up before you put them away.