A delectable pudding where a combination of cocoa powder, hot water and sugar poured over the top of a chocolate sponge batter magically sinks below the surface while it bakes to make a rich sauce underneath. Serve the hot pudding with vanilla ice cream and everyone will be your friend!
175g unsalted butter at room temperature, plus extra for greasing the dish
300g soft light brown sugar
3 large free-range eggs, beaten
1 tsp vanilla extract
175g plain flour
40g cocoa powder, plus 2 tbsp
1 tsp bicarbonate of soda
Pinch salt
3 tbsp milk
Pre-heat the oven to 150C fan (170C)
Grease the inside of an ovenproof dish with a butter
Cream the butter with 225g of the soft light brown sugar until pale and light, scraping down the sides of the bowl with a rubber spatula from time to time to make sure you catch it all
Gradually add the beaten eggs, mixing well between each addition and then add the vanilla extract and mix again to combine
Sift the flour, 40g cocoa, bicarb and a pinch of salt into the mixture and mix again until just combined
Add the milk and mix again until smooth
Spoon the mixture into the prepared dish and level with the back of a spoon
Now for the sauce! In a small bowl mix together the remaining 75g soft light brown sugar, 2 tbsp cocoa powder and 6 tbsp hot water
Spoon this chocolatey syrup over the chocolate sponge mixture and place the dish in a large, deep roasting tin.
Boil the kettle and pour boiling water into the tin, around the dish so that the water comes halfway up the sides of the dish.
Carefully slide the roasting tin into the oven on the middle shelf.
Bake for about 40 mins, or until the pudding is well-risen, the top is nicely cracked and a skewer inserted into the middle of the pudding comes out with a moist crumb.
A New England tradition and a beautiful way to use up any slightly-past-its-best fruit. Except bananas, but you can make banana bread with those. My fave versions is with apricots or peaches, but almost any fruit works. Feeds 2 with leftovers. Or possibly just seconds.
Poached fruit
45g caster sugar
100g flour
1 tsp baking powder
40g butter, cold
80 ml milk
1 tbsp flaked almonds
Flavour with orange zest, cinnamon, almond or vanilla extract – whatever works with the fruit you’ve chosen
Pre-heat oven to 170C fan.
Put fruit into an overproof dish
Put the flour, baking powder, sugar and flavourings into a bowl
Grate in the butter and rub in with your fingertips until it resembles breadcrumbs
Stir in the milk to make a soft dough
Blob large spoonfuls (slumps!) of the mixture over the fruit and scatter with almonds.
Put the dish onto an oven tray and bake for 30 mins until the topping is crisp and golden.
Mix together flour, brown sugars, butter and cinnamon, rubbing the butter in with your fingertips until the mixture resembles breadcrumbs
Sprinkle the caster sugar and lemon juice over the sliced apple and mix together. Place the sugary apple in a wide, ovenproof dish, evenly distributed
Spread over the crumble topping evenly. Press down gently with your fingers
Bake for an hour. Maybe pop a baking tray on the shelf below just in case there are any small eruptions!
Cool for 10 mins before serving with a scoop of vanilla ice cream
You can add fruit such as cooked rhubarb or strawberries (with a sprinkle of flour to absorb the liquid). Or make it with peaches or apricots, and mix some flaked almonds and crushed amaretti biscuits into the crumble topping.
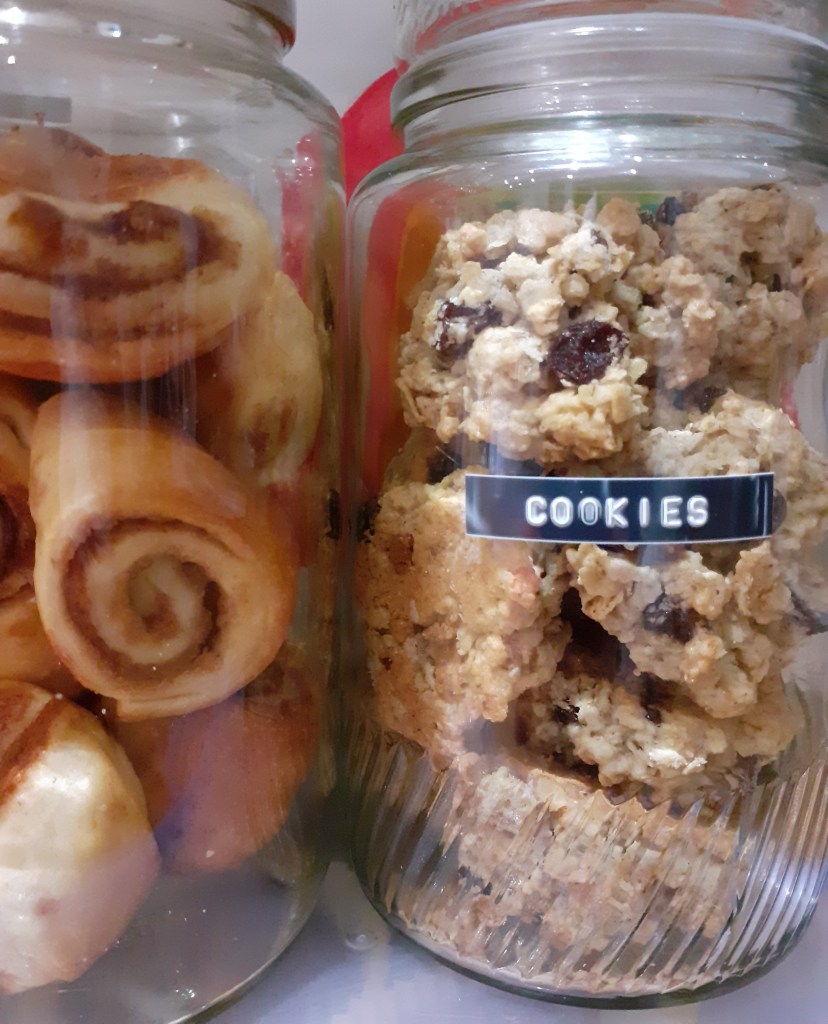
Nibbly, nubbly, raisiny, oaty and wholesome little craggy cookies. Makes 24.
100g raisins
150ml vegetable oil
200g golden caster sugar
1 large egg, beaten
1 tsp ground cinnamon
1 tsp vanilla extract
140g plain flour
¼ tsp bicarbonate of soda
300g oats
Heat oven to 160C fan (180C) and line 2 baking trays
Pour 50ml of boiling water over the raisins and leave to soak for 20 mins until plump. Drain, reserving the liquid
In a large bowl, whisk together the oil and sugar. Gradually beat in the egg, then the reserved water from the raisins, the cinnamon and vanilla
Stir in the flour, bicarb, a pinch of salt, oats and raisins until well combined
Drop heaped tbsps of the cookie dough onto the baking trays, evenly spaced. They can be quite close together, this mixture doesn’t spread much when baked
My granddad used to call these hash because he was an innocent and that was the most addictive thing he could think of. I wouldn’t go as far as to say addictive, but I would place a substantial bet against anyone being able to eat just one of them. This is another family Christmas tradition, combining chewy, deeply orange flavoured, crystallised peel with deep, dark chocolate. They are genuinely sublime and much greater than the sum of their parts. AND they use a bit of the fruit which normally gets thrown away, so it’s a double-win.
I’m not going to lie, this is a slightly more complicated process than most of my recipes. It’s a labour of love. Not difficult at all, but there are quite a few steps (all though 3 of them are just ‘change the water’) and it takes at least a week. Also, one of your saucepans will be occupied for 4 days.
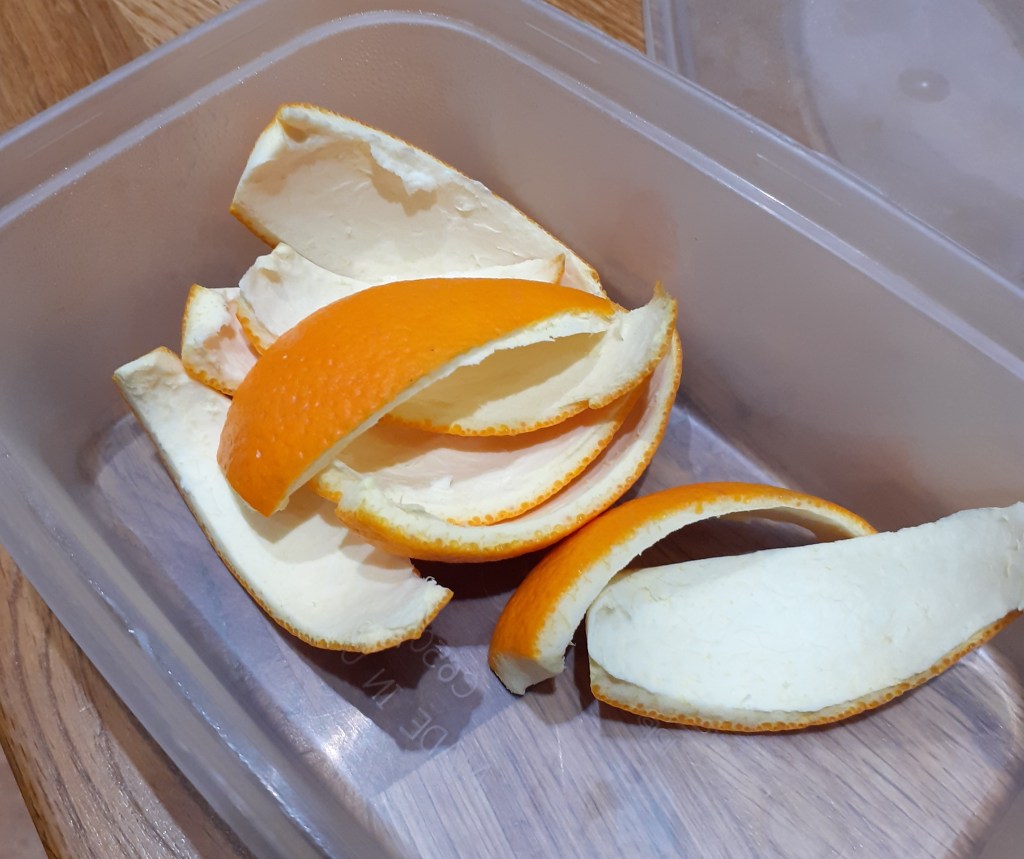
You need to spend a couple of weeks (depending on how many oranges you eat) beforehand peeling oranges carefully with a knife and collecting the peel in a box. You need at least 4-6 oranges-worth to make it worthwhile. You can also use grapefruit or lemons. Not satsumas or limes though, because the skin is too thin.
Before you start, the peel should be in pieces like the pic below. (I know, a picture, what a treat!)
Day 1: Cut the peel into long strips 1-2 cm at their widest point. Then slice off half the pith from each strip (so you’re cutting the top layer of the white bit off each piece). This is easiest if you hold the peel down flat on a chopping board with one hand, orange side down, and use a very sharp knife in the other hand to slice a thin strip of the pith off the top. (It’s ok if you go deeper by accident.) Then put the strips into a big bowl, cover generously with cold water, stick a plate or something on top so nothing falls in it and leave to soak for 24 hours
Day 2: Drain and change the water
Day 3: Drain and change the water
Day 4: Drain and put the wet peel into a saucepan. Cover with new cold water and bring to the boil. Drain and then weigh the peel. In a separate bowl, measure out the same weight of sugar as peel. Then, in a jug, measure out the same ml of water as grams of sugar. Put the sugar and water into the empty pan and heat until sugar is dissolved. Add the peel, stir in and leave to cool in the pan
Day 5: Bring to the boil, stirring gently, then leave to cool
Day 6: Bring to the boil, stirring gently, then leave to cool
Day 7: Bring to the boil very slowly, stirring occasionally, until the syrup begins to crystallise. Turn the heat down very low and stir gently and continuously until there’s no liquid left. Remove the crystallised peel (not using your fingers) to cool onto a lined baking sheet. Make sure they’re not touching or they’ll stick together
Day 8: Melt dark chocolate in a bowl. The chocolate can be as dark and as fancy as you like. Although I’m a big fan of a Dairy Milk button or two, you should not use milk chocolate here. Dip each piece of peel into the chocolate to cover the whole thing except for the tinest finger-hold at one end. Place, not touching, on a lined tray and leave to harden in the fridge
They will keep well in a tin or airtight container in a cool place for weeks if you can stop everyone in your life from hoovering them up before you put them away.
Sticky, gooey, ridiculously sweet. Will win you friends and influence people. Serves 6 generously
120g digestive biscuits (about 8 of them)
60g butter, melted
200g tinned Carnation caramel (annoyingly half a tin) or dulce de leche
2 bananas
150ml double cream
Chocolate shavings to decorate
If you don’t have caramel, you can cook a tin of condensed milk by placing it in a saucepan, fully covering the tin with water, bringing to the boil and simmering uncovered for 3 hours.You will probably need to keep topping the water up. Then remove from the pan and allow to cool completely before opening.So then it’s just a construction job.
You need a tin or serving dish and, if you want to serve it like a cheesecake, you’ll need a lined springform tin
Crush the digestives to crumbs and pour over the melted butter
Mix together and press into the bottom of the tin/dish
Leave on one side to cool and harden for at least 15 mins
Cut the bananas into rounds and whip the cream until thick but not stiff
Spread the caramel over the biscuit base, arrange the banana slices on top in an even layer and finish with a layer of whipped cream
Decorate with grated dark chocolate or cocoa powder
A favourite with all children ever. And quite a lot of grown-ups. The perfect topping for an ice cream sundae, banana pancakes or – the ultimate retro pudding – a banana split.
150g dark chocolate, broken into small pieces
50ml single cream
2 tbsp golden syrup
Put all the ingredients into a small, heavy-based saucepan and heat it gently – if this goes over it’s impossible to rescue, so keep stirring and whip it off the heat as soon as everything is melted into a beautiful, glossy, pourable sauce.